I wanted to do a quick project this week. I rooted around in my yarn stash and found a bag full of half-used balls and remnants of Rowan Fine Tweed. I really like this yarn and used it to knit my Peerie Flooers hat and my Soumak Wrap, both very colourful projects, meaning lots of bits of many colours leftover. Rowan has now discontinued this yarn, carrying on its great tradition of discontinuing nearly every yarn I love (knock on wood for Kidsilk Haze).

I had in mind a quick pair of mitts based on Follow your Dreams, a very cute pattern available for free on Ravelry by Vlněné sestry. Here is the pattern photo:

© Vlněné sestry
I spent some happy time playing with all of the leftover colours when it came to me: I could knit a rainbow!

I used a light grey for the background and picked out five rainbow shades for the arrow motifs. I didn’t think I had enough of the grey, so I knit the ribbing around the wrists in rainbow stripes as well. The colours are reversed, so the wrist ribbing uses red, orange, yellow, green and blue, and then the arrow motifs work in reverse order from blue to red. Thus, the mitts are framed by the red. At the time, I had no inkling that the red would match my beloved Acer cardigan so well, but I think that together they are fabulous!

The only other modification I made was to make the mitts mirror images of each other (so that the arrows point in opposite directions). I loved making this project. I could easily imagine knitting up many pairs of these, using lots of different colour schemes. It is a great project for using up small bits of fingering weight yarn. Using stripes for the ribbing meant many extra threads to weave in at the end, but it was totally worth it.

Some time ago, I wrote a post about the use of gussets in mitts and mittens. In that post, I mentioned that I had always knit mitts with gussets, and I speculated that gusset-less mitts would be uncomfortable to wear. Based on my lengthy observation consisting of wearing this one pair of mitts for a few hours (how scientific!) I would venture to say that gusset-less mitts can indeed be comfortable. I will now have to do more research on the topic, thus necessitating knitting more mitts. All in the name of science of course!

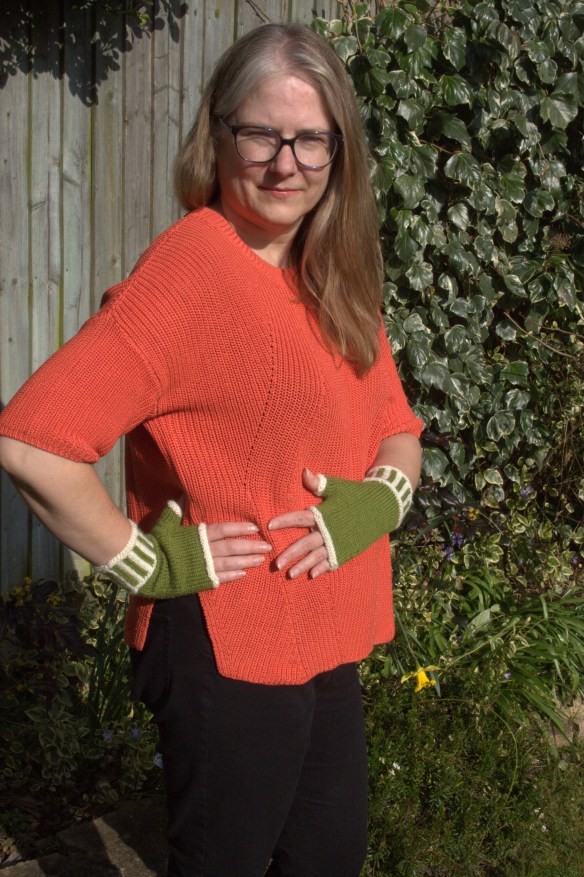
We took these photos this morning in Henley-on-Thames, a beautiful old market town on the Thames a few miles from my home. (I work there and shop there.) The sun was shining and everyone was smiling; it was a perfect day to walk along the river and to wear my new cardi and rainbow mitts.

I wish you all sunshine and rainbows this weekend!