Doug went to Vancouver last week and was able to take Emma her birthday surprise sweater. (Given that her birthday is in May, it was definitely a surprise!)


This is the Ojai Top, designed by Andrea Babb, which was published in Wool Studio: The Knitwear Capsule Collection from Interweave Press. I knit it with Dye for Yarn Fingering Merino with Silk in the colour Fading Stormy Night.

I finished knitting this before we went to Malaysia but was waiting to get modeled shots before showing it to you. (It doesn’t look like much on a hangar!) I had worried throughout the construction about how it would look and fit once blocked. I think we can safely say that I needn’t have worried. It looks pretty great on Emma.
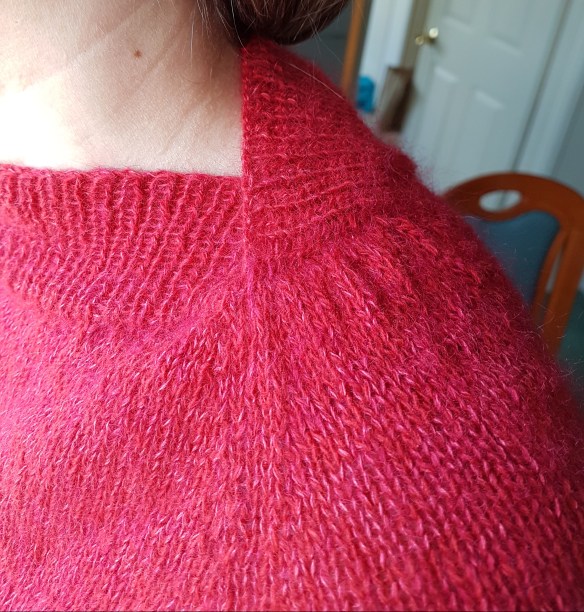
This is an interesting piece to knit. The loops are actually three-dimensional, as you can see in the below photograph:

As you start to build up the loops, the piece looks a bit of a mess; I referred to it as a Kraken in an earlier post. You can read more about its construction and the beginning stages of knitting Ojai in these posts: here and here. I struggled a bit when it came to ending off all of the threads (each loop has two threads to end off); what to do with the hole left in the fabric from creating the loop? The trick is to not tack down the loop when weaving in the ends, but to sew the hole together in a way that reinforces the tunnel structure of the loops.
I had also worried about my choice of yarn. First, because I substituted a yarn with 25% silk content. When I was knitting it, it felt very unstructured and I was wishing that I had used a 100% wool yarn as indicated in the pattern. But the real point of contention was the colour. I ordered it over the internet, and when it arrived, it had more variegation in the skein than I thought it would. I decided to use it anyway, with the hopes that the finished garment would be very drapey and look like flowing water. It is interesting that Doug and Emma chose to photograph it next to a lake where it really does seem to flow like water.

They had driven up to see a friend (hi, Jill!) who lives at Lilloet Lake, in British Columbia, and they took these photos there. Beautiful, isn’t it?
I knit this in the small size. When I washed it, it grew by a few inches, so I was very careful not to stretch it and didn’t pin it. It is knit sideways so the extra length goes into the width (thus into the sleeve, which I think is good in this case as Emma is tall). I do think that the short side is rather short. If I knit it again I would think about adding some stitches to the cast on so that it gained a few inches in length. (Perhaps Emma would disagree?)

Emma notes that the one armhole is a bit tight. I originally sewed the side seam to the length indicated and then crocheted around the armhole as instructed (which allows the tubes to be tacked down properly at the armhole). However, I felt that it was too tight, and re-did it so that there would be an extra 2 inches of circumference around the arm. It could have used with an even more generous arm width and I may re-do it for her in future. (This does not involve any re-knitting, but just making the side seam shorter.)

I am very happy with how this turned out. It is a striking piece and is sure to be a conversation starter.